
If you grew up in India, there’s a good chance you’ve enjoyed the creamy, comforting flavors of hocco ice cream—that perfect blend of smooth texture, sweet nostalgia, and melt-in-your-mouth delight. Known for its quality and taste, Hocco has become a household name, and today, we’re unlocking the secret to recreate this iconic experience right in your own kitchen.
This isn’t some shortcut, cheat-day recipe. It’s a detailed, carefully written step-by-step guide for how to make hocco ice cream at home—with real ingredients and real methods. It’s so authentic, it might just become your favorite homemade dessert.
What Is Hocco Ice Cream?
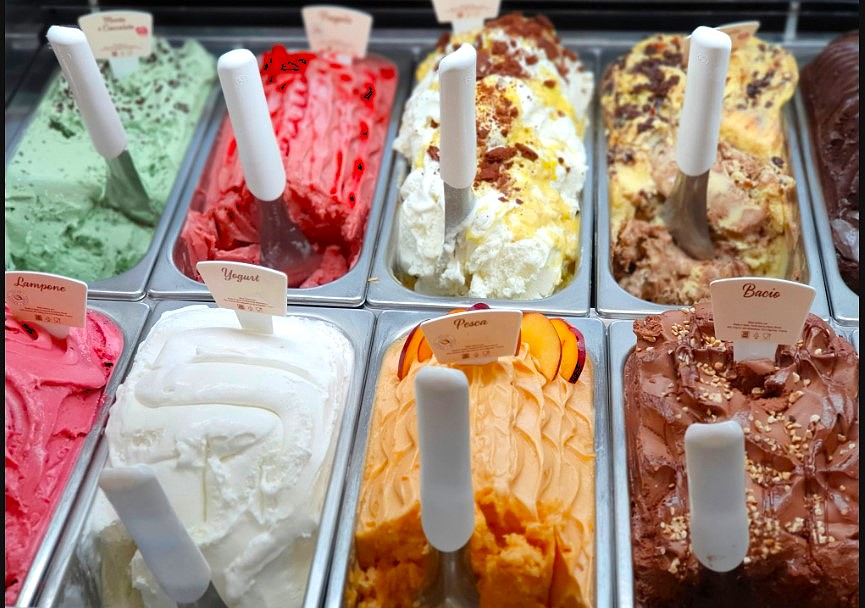
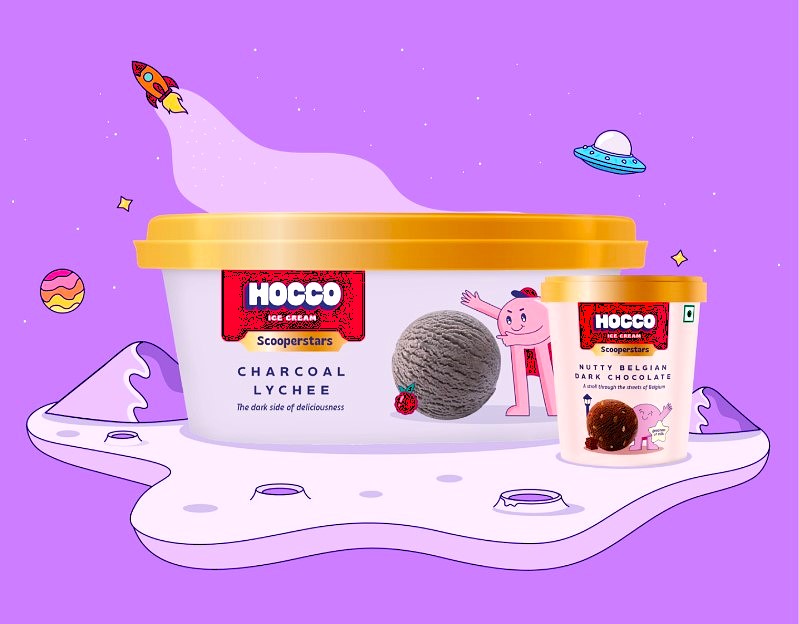
Hocco ice cream is an Indian premium ice cream brand famous for its ultra-creamy texture, high milk fat content, and rich flavors. The taste feels almost handmade—because it’s minimally processed, smooth, and deeply satisfying. This recipe brings that same level of quality to your home kitchen, minus the commercial preservatives.
Ingredients for Hocco Ice Cream
Below is the complete ingredient list for a vanilla-based Hocco-style ice cream, which you can use as a base to create flavors like chocolate, mango, or butterscotch.
| Ingredient | Quantity | Why It Matters |
| Full cream milk | 500 ml (2 cups) | Base liquid, rich in fat |
| Fresh cream (heavy cream) | 250 ml (1 cup) | Adds volume and smoothness |
| Milk powder | 4 tablespoons | Increases creaminess and stability |
| Cornflour (cornstarch) | 2 tablespoons | Thickens the base without eggs |
| Granulated sugar | ¾ cup (or adjust to taste) | Sweetener, balances the fat |
| Vanilla extract | 1½ teaspoons | For the base flavor profile |
| GMS powder (optional) | ½ teaspoon | For commercial-level smoothness |
| CMC powder (optional) | ¼ teaspoon | Prevents ice crystals, optional |
| Ice cubes | As needed | For cooling the mixture fast before freezing |
Note: All ingredients should be fresh. Using full-fat milk and cream is key to achieving the original hocco ice cream texture.
Equipment You’ll Need
- A heavy-bottomed saucepan
- A hand blender or electric mixer
- Freezer-safe container with a lid
- Whisk and ladle
- Ice bath bowl (for rapid chilling)
Step-by-Step Method to Make Hocco Ice Cream at Home

Prepare the Milk Base
Start by heating the full cream milk in a heavy-bottomed pan over medium flame. Add milk powder and sugar. Stir continuously until both dissolve completely.
Thicken with Cornflour
In a small bowl, mix the cornflour with a few tablespoons of cold milk. Whisk to avoid lumps. Add this slurry into the warm milk and continue stirring. The mixture will start to thicken—this forms the creamy custard base of your hocco ice cream.
Add Optional Stabilizers
If you’re going for that ultra-smooth, slow-melting texture, you can add GMS and CMC powders now. Stir them well into the mixture.
Add Vanilla and Cool Down
Once the mixture has thickened to a custard-like consistency, turn off the heat. Add vanilla extract and stir. Now, place the pot in an ice bath (a larger bowl filled with water and ice) to cool the mixture quickly.
Whip the Cream
In another bowl, whip the heavy cream until it reaches soft peaks. You don’t want it too stiff—just light and fluffy.
Combine and Blend
Gently fold the cooled milk mixture into the whipped cream. Then blend it all together using a hand blender or mixer for 2-3 minutes. This will incorporate air and make the final ice cream soft and scoopable.
First Freeze
Transfer the mixture into a freezer-safe container. Cover and freeze for 4–5 hours or until it is semi-set.
Blend Again
Remove from the freezer and churn or blend again. This helps break down ice crystals and improves texture. Do this blending step 2–3 times at two-hour intervals for the creamiest results.
Final Freeze
After the last blending, freeze the mixture overnight or for at least 8 hours.
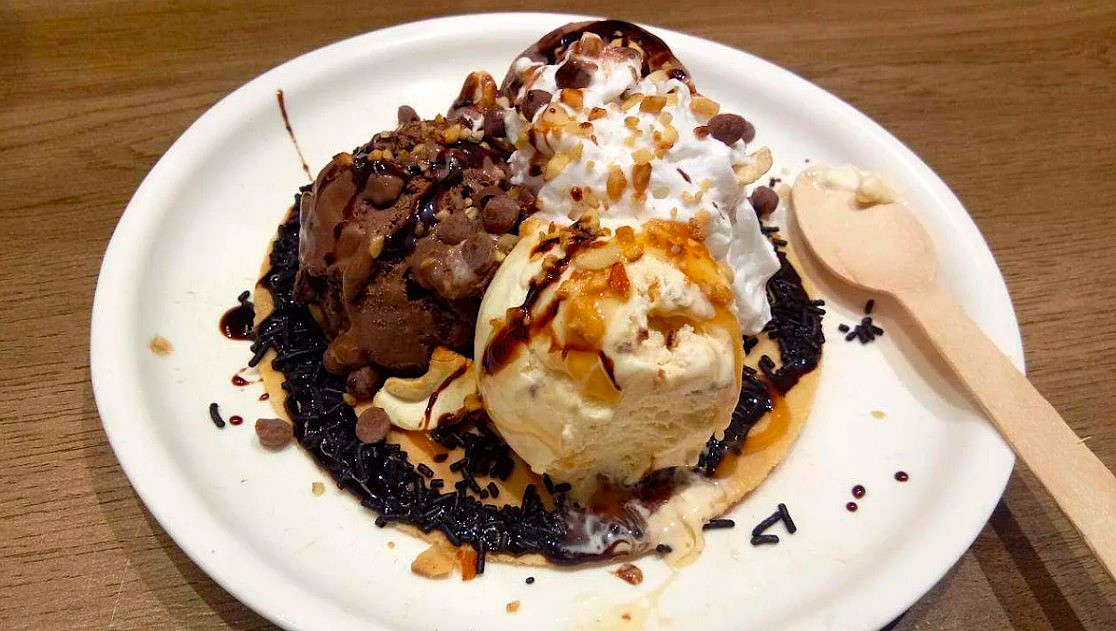
Serve and Enjoy
Take out your homemade hocco ice cream, let it sit for 2–3 minutes at room temperature, and scoop it into a bowl or cone. Top with nuts, chocolate sauce, or fruit preserves if desired.
Flavor Variations
Want to go beyond classic vanilla? Here’s how you can twist your base into signature hocco ice cream flavors:
- Chocolate: Add 2 tablespoons cocoa + 50g melted chocolate during blending
- Mango: Add ½ cup mango pulp and skip vanilla
- Butterscotch: Add butterscotch essence + caramelized cashews
- Strawberry: Mix in ½ cup strawberry puree
Nutrition Facts (Per 100g Serving – Approx.)
| Nutrient | Value |
| Calories | 210 kcal |
| Fat | 14g |
| Saturated Fat | 9g |
| Carbohydrates | 17g |
| Sugar | 15g |
| Protein | 3g |
Pros and Cons of Homemade Hocco Ice Cream
Pros
- No Preservatives: Pure ingredients, no additives (unless you choose)
- Customizable: Flavor it any way you want
- Creamy Texture: With correct technique, it’s smoother than store-bought
- Fun and Rewarding: Great family activity
Cons
- Takes Time: Requires multiple freeze-blend cycles
- Needs Patience: Rushing will affect texture
- Requires a Blender or Mixer: Hand-churning won’t yield the same creaminess
Final Thoughts
There’s nothing quite like homemade ice cream. When you take the time to make hocco ice cream at home, you’re doing more than just freezing milk and sugar—you’re creating something personal, indulgent, and honestly better than most store-bought brands.
Yes, it takes a little time and effort. But one bite of your own rich, velvety scoop, and you’ll realize it was absolutely worth it. The beauty of this method is that once you’ve mastered the base, the flavor possibilities are endless.
So put on some music, grab your saucepan, and get ready to churn out something delicious!
For more information about Delicious Food Click Here
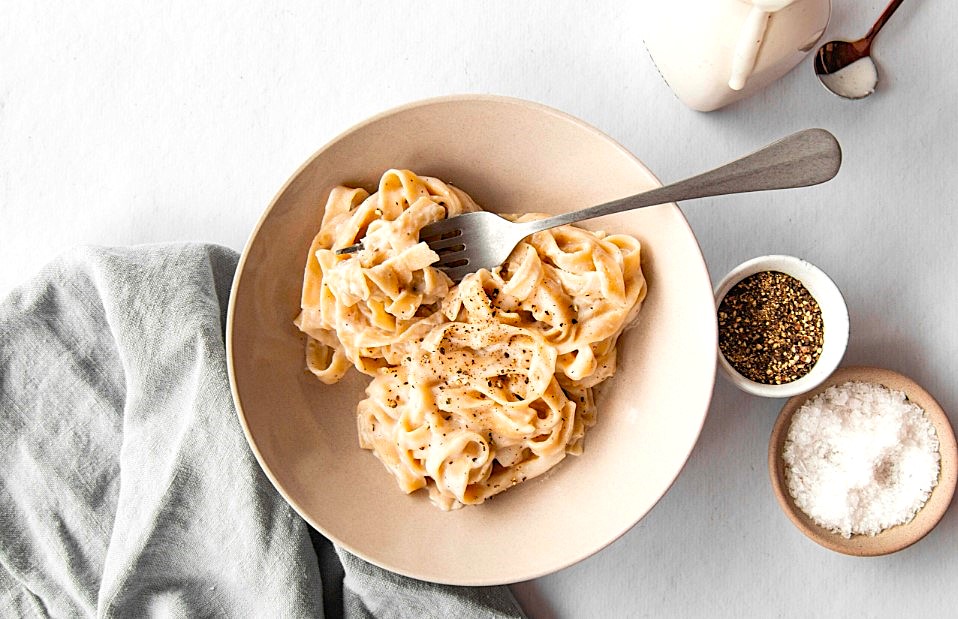
- Easy Alfredo Sauce Recipe – Make Creamy, Delicious Pasta Sauce at Home
- How to Make Hocco Ice Cream at Home Step-by-Step Guide

- How to Make Mushroom Masala Recipe Dry at Home – A Complete Guide

- How to Make Waffle Recipe at Home

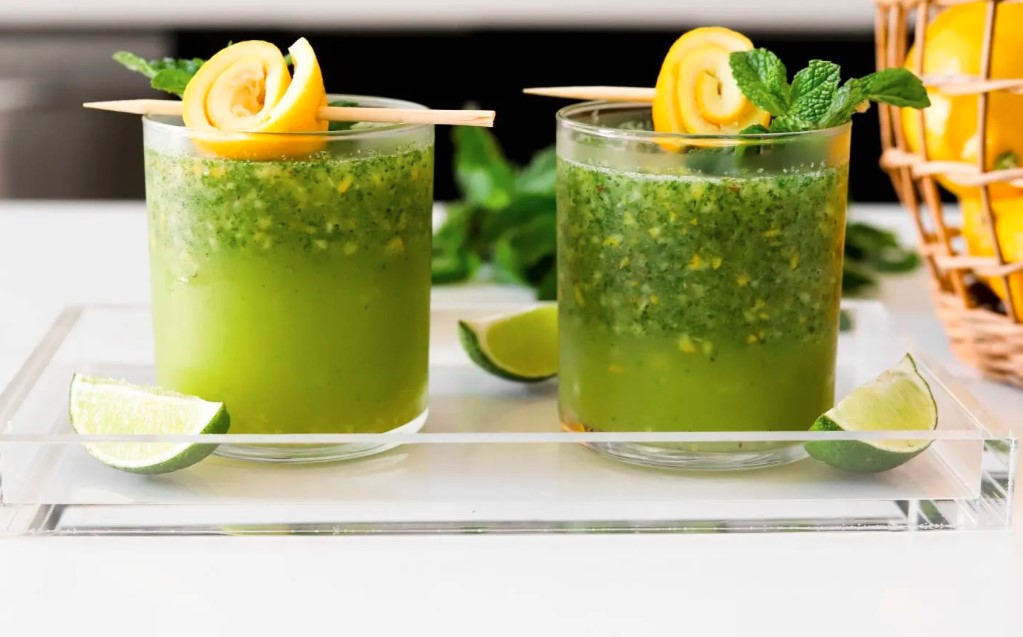
- How to Make Delicious Mint Margarita Recipe at Home
- How to Make Delicious Malai Tikka at Home

- How to Make Delicious Mutton Karahi at Home

- گھر پر مزیدار سیخ کباب بنانے کا مکمل اور تفصیلی طریقہ

- How to Make Delicious Seekh Kebab at Home
